Navigation bar

  • About Me
  • Renovation
  • Decor
  • Crafty
  • Life
Showing posts with label organization. Show all posts

Friday, December 30, 2016

Donating via "Give Back Box"

This year, I'm ending 2016 on a good note. This comes in the form of donating my old clothes to Goodwill via a program called Give Back Box.

Let me put it this way: Did anyone else end up with shipping boxes after the holidays and don't know what to do with them? Well, Trent and I did - we ordered a lot of our presents to each other online this year, so we had a few shipping boxes left over.

Normally, we would take them out with all of our recycling. But just recently, I saw an ad for Give Back Box. The idea is pretty cool. If you have leftover boxes from the holidays or ordering things online, you can fill them with clothes or other items you no longer need and send them to Goodwill for a donation. And the shipping labels are completely free - you just go to the website and hit the button for "Print a label," then fill in your name and address into the online form. It generates a shipping label, and you can take it to the post office and send it off!

I decided to participate in the program, since I have been wanting to get rid of some clothes in my closet. I'm running out of closet space, and hangers. :)


So today, I had the day off work and ended up sending a couple of Amazon shipping boxes full of old clothing (and a purse) I no longer wanted.


It not only gives you the satisfaction of helping people that might not be able to afford brand new clothes, but it lets you start fresh and clear some space, too, without making the trip to a Goodwill store (specially if you live at least 20 minutes away from one, like we do!).

And it doesn't matter how big your box is, or what the weight is. You can pack those boxes full of clothes, accessories, or household items, and the shipping is always free.

So, if you're interested in donating, you should totally go to the Give Back Box website and get started. Happy 2017 everyone!

Wednesday, November 11, 2015

The Storage Issue

Who else struggles with the lack of storage in your home? For me it never fails; no matter how much space I think I have, there never seems to be enough storage. I clear out some space and a couple of months later, it's the same thing again! Where does it all go?


If only our "organized" spaces always looked this neat!

Maybe it's our tiny, turn of the century home, or maybe it's just the fact that we can't seem to utilize all of the wasted space in it. I'm determined to come up with a long term solution either way. Maybe not right away, but gradually. The main goal is just to be able to make good use of all of the space that we do have.

In the mean time, I have another pile of things I'm taking to Goodwill. And I've reorganized all of my gift wrap and gift bags for the holidays, as is the yearly routine. 

One good thing - I came home to a clean kitchen yesterday thanks to Trent! We ate at the kitchen table the last two nights for the first time in a while. He's vowing to try to keep it clean, if I help him... We'll see how that goes! He also got me some flowers and wine tonight, just because. I think I'll keep him. :)


Thursday, November 5, 2015

The Time I Was Featured on HGTV.com

You guys. One of my organizing ideas is on HGTV.com right now! I can barely hold in my excitement. Here's what happened. This summer, amid planning a wedding and a bazillion emails in my inbox, I got a message from a writer for HGTV.com that she wanted to feature my portable holiday gift wrap station for a Holiday Organization article she was working on. At first I kind of questioned whether it was even legitimate (I mean, it's not every day that you get featured on the website of one of your favorite TV stations), but I signed the release and sent her a hi-res image of my gift wrapping cart, and now it's live on the HGTV website!

Here's my lovely little gift wrapping station that was featured, and that I still use to this day:


The idea seemed so simple to me at the time and I had a need for it, but I never imagined someone else would see it and think it's a great idea, too. I guess that's one of the cool things about blogging. You never know who else is going to see your projects and ideas and want to share them as well.

Here's the link to the photo and the little blurb about my gift wrapping cart on the HGTV website. I love it! The full article / gallery is: 12 Clever Christmas Decor Storage Ideas. You should definitely check the full gallery out. There are tons of good ideas in there, and with the holidays coming up, some of them could definitely be useful.

Ok, please excuse me now while I pinch myself again... :)

Saturday, May 30, 2015

Spring Office Organization

I don't share too much of my office, partly because I'm not up there a lot. There's not really any air or heat upstairs, and with my laptop down here, it's not as necessary to work on my desktop computer anymore. I do go up there every so often though, and lately it was getting a tad chaotic. I hadn't cleaned or organized up there in a while. Today was a chilly, rainy day, and Trent worked an 11 hour shift (and is still working now), so I decided to get to cleaning up my office space and getting it all pretty again!

Earlier this week, I looked online for a storage unit for all of my stacked containers of craft and art supplies. They were piling up, so I needed something simple that would fit in the corner by my desk. I landed upon this storage unit at Target:


It was super simple and cheap. And it came in this box, unassembled. 


Luckily, though, it was super easy to put together! No screwdrivers needed, thank GOD! I hate dragging out tools, especially without Trent here..and trying to find the right screwdriver is not fun! I have never seen a shelf so easy to put together before.


Once it was assembled, I brought it upstairs, and got to work in my office. Just as I was hoping, it fit perfectly in the corner between my desk and my bookshelves. Space is LIMITED up here, let me tell ya! This room is super small, so I'm trying to utilize all the space and storage I can get. And I do have a lotta stuff!


So on these shelves I put all of my small storage containers, each labeled - paint supplies, craft supplies, crayons (yes, I have a whole tub of crayons), markers, sewing supplies, printer supplies, etc.


Even though I organized and cleaned, my office is still pretty full! And it's still unfinished. A couple of years ago we started painting and putting up trim, but we never got finished. So there's still some work to do up here - hence that corner "nook" above the stairs that's still sponge-painted brown! It currently holds an old little tv, and all of the unhung picture frames with no place to live.


But, it will have to do for now! At least it feels a lot cleaner up here - lots of papers were starting to pile up, and wedding things were scattered around - vases, invitations, etc. I moved all of the wedding stuff into the other upstairs room - Trent's old bedroom next door. That room is completely being used for storage at the moment!


I added that mirror, and rearranged my artwork. It feels a little bit more "me", and a little bit more "homey." And best of all, uncluttered!


Unfortunately, it's not just small, but it's also dark in here - especially on rainy days like this one.


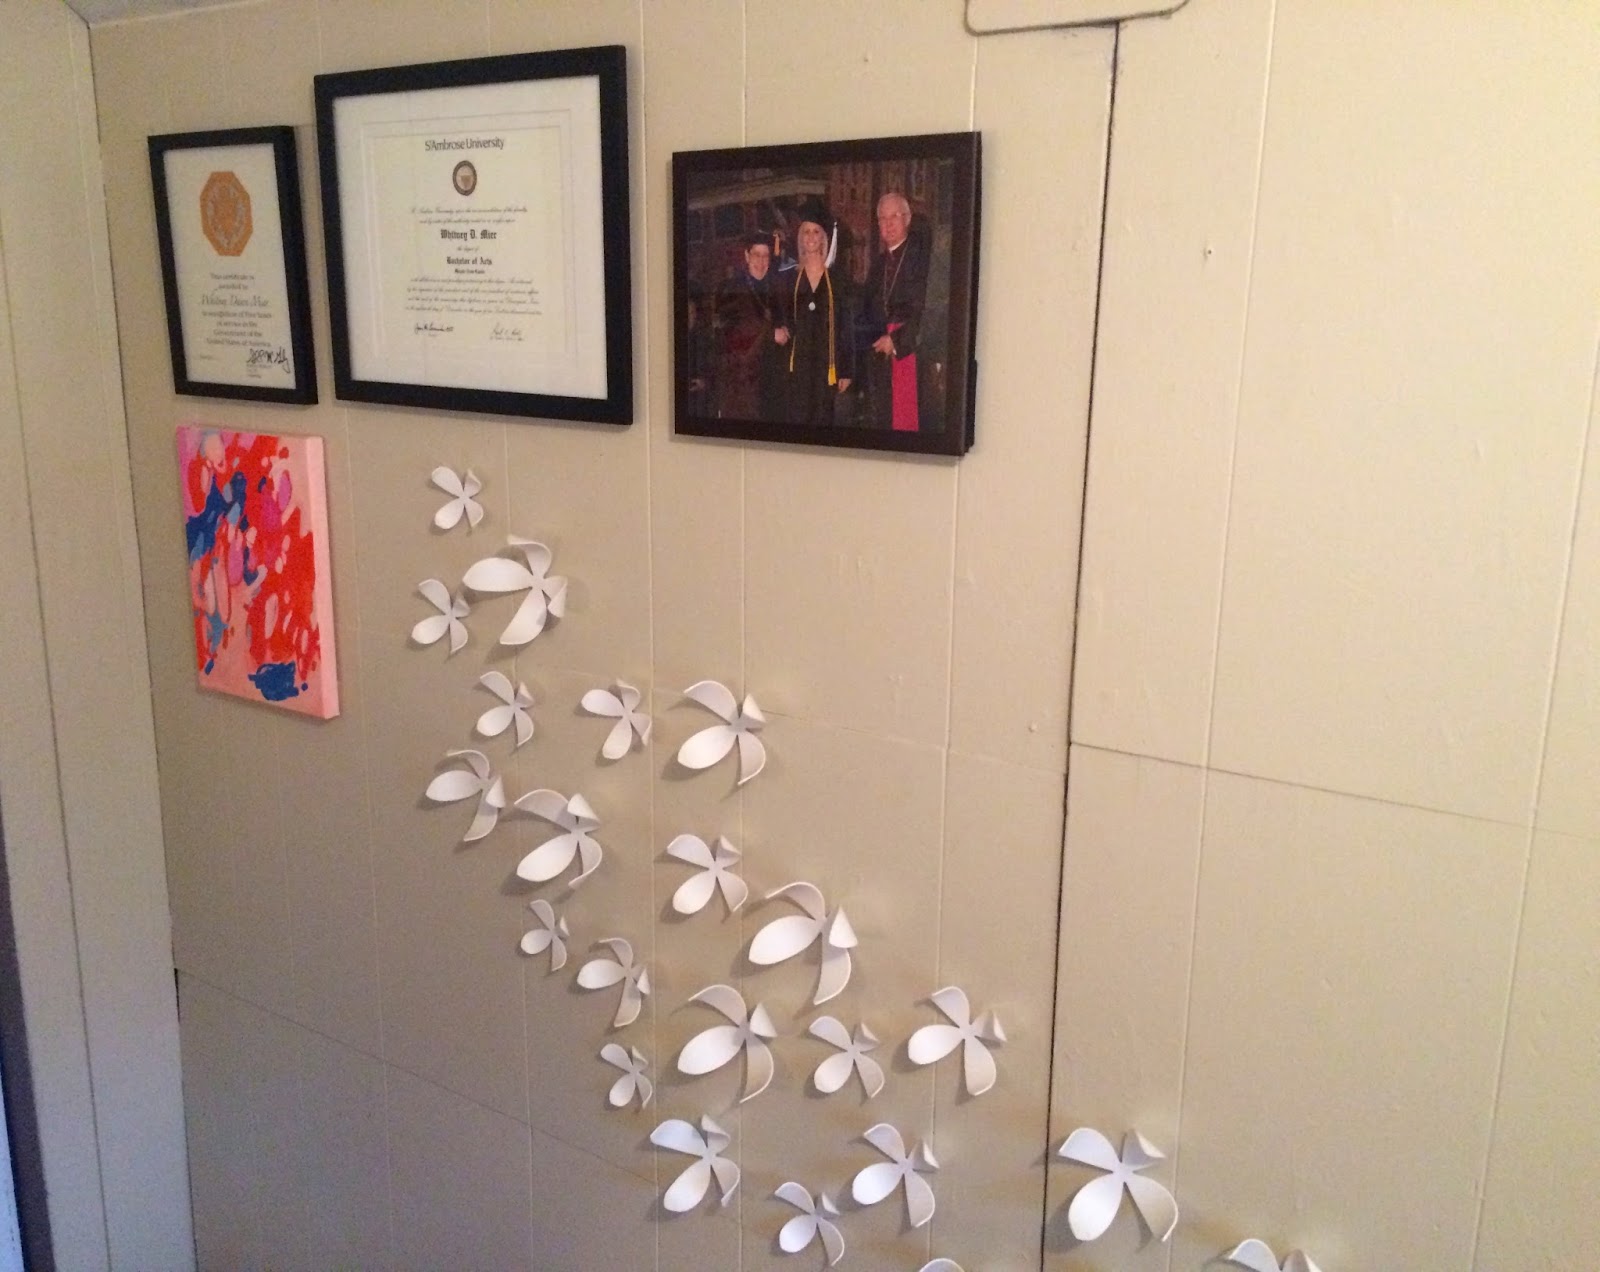
I still have my wallflowers up on this wall...Trent took his plaques for Employee of the month to work with him, so I hung up my Emily Rickard painting on this wall, too. :)


I like the mirror in here because it kinda makes the space feel a little more elegant, and maybe even a little bigger. I'm not sure if on top of my printer is the best place, but hey, it works! I found this mirror at a yard sale - I think it was $4 or $5.


And I put a couple of my favorite paintings that I've done, along with calendar art by Katie Daisy, on my memo board.


All in all, not a huge change, but a nice little project that made me feel productive today! Always good to clean and organize!

Saturday, December 6, 2014

Movie Organization

It's Saturday. Let's talk movies. How do you organize your movies in your house? I'm talking DVDs, Blu-Rays, and maybe you still have some old VHS tapes? (we do). We've always kind of had the same system - we like to keep them hidden in the TV stand. Of course, over the four years that we've been here, our movie collection has grown a little, and I've recently changed our storage system a little bit.

I've expanded our storage to more than just the TV stand (and an overflowing basket), and I've been utilizing other pieces of furniture in the living room to stash movies. Like my China hutch.

Here's the current situation. These are our two drawers full of movies in the TV stand:


Trent has always kept most of his movies in the right drawer, and mine are in the left (I like my rom-coms.) We like this system, because they can be stashed away and you can't see them unless you open the drawers.


 Once you open the drawers, it's super easy to access and see all of the movie titles.


But, as you can see, these drawers are completely full. And there's not a whole lot of other space in this little TV stand of ours.


So, enter - the China hutch.


I've recently cleaned out half of the bottom space in the hutch to house extra movies that won't fit in the drawer. As you can see in the photo below...in the back are my TV shows - Seasons of How I Met Your Mother (which is hidden) and The Office...and My Friends Box set is the red box on the left. And then there's a bunch of random movies, some that are pretty old, and some we may not watch as much. And there's room to spare, which is always nice.


The basket between the hutch and the TV stand just has older DVDs, and some old VHS tapes now. This was where all of the extra movies were before I moved them to the hutch. It was almost overflowing it was so full. And it wasn't really convenient to open this basket all the time when I wanted to watch my TV shows. Now there's extra room in here too, if we need even more storage.


So that's our current, newly expanded movie organization system. I like this system a lot better - it's easier to find the movies in the hutch, rather than opening that basket!

Saturday, November 29, 2014

Holiday Gift Wrapping Organization

So, did everyone have a happy Thanksgiving? I definitely ate my weight in food these past couple of days, I'm pretty sure. But I've been enjoying the long weekend! We went Black Friday shopping yesterday, but not until late morning/early afternoon. It was still pretty busy in the stores, but not too crazy! Today we stayed home and put up all the Christmas decor. Trent got all the lights up outside, and I put up the tree and the other holiday decor. Will have some pics up tomorrow! One thing I haven't done yet is wrap presents.

I have some gifts figured out, but there is still a lot I have to buy, so I'm waiting to wrap presents until I have most of my gifts all ready. I picked up some more Christmas wrapping paper yesterday, and a few more random things like Christmas cards and gift bags. But I definitely needed a better system to store them all...they were in plastic grocery bags in the closet and I could never find what I was looking for. So, lo and behold...my new holiday gift wrapping system:


Last night I put this cart together - I had picked it up at IKEA and was planning on putting it in my office upstairs. It's the Raskog utility cart. When I got home last night I had the idea that it would be perfect for gift wrapping storage! So I took all the parts out of the box they were still in, and assembled my storage cart (with a little of Trent's help!). Then I filled it with all of my gift wrapping necessities.


I think it will work really well. It's much more organized. All of my bows and ribbons are in the top section, along with other little knick knacks, and small gift boxes.


I had a few extra plastic storage containers that I had used in my office for drawing and crafting supplies, markers, etc., so those came in handy, and they match! I love them because they're clear, so there's no need for labels, since you can easily see what's inside.


The middle section contains gift bags and tissue paper.


And the bottom section has gift tags, gift card holders, and Christmas cards.


The only thing missing is wrapping paper, and I'm working on a system for that! I have a long storage box that works for the smaller rolls, but I have several longer rolls that don't fit, so that's still a work in progress. Once I clear a designated spot in the closet, this cart will have a home. With the wheels on the bottom, it rolls really easily, and I will be able to roll it out whenever I need to wrap presents. And I can't wait to wrap some gifts this year now!

Linked to: Say G'Day Party, Link Party Palooza.

Sunday, September 21, 2014

My Necklace Holder - An Update

Back last winter, I made (with Trent's help) one of my favorite small projects to date. A necklace holder.

I needed one of these desperately and saw tons of them around - at the stores, on Pinterest, etc. Chunky necklaces have become popular over the past couple of years, so I had all of these big necklaces but no place to hang them. So I decided to make one myself out of some wood and some mismatch knobs.


Today I wanted to share a little update about my DIY necklace holder, in case anyone else has thought about making one. Since making it I have gotten quite a few new necklaces, and it still holds them, no problem. I am here to tell you I still love this, and if you're thinking about making one, DO IT. It has seriously saved my life!


They now hang right on my bedroom wall, and are all right in front of me, so I never have to worry about finding a necklace again. I have one for every outfit right in front of my face, which makes getting ready ten times easier in the morning. They also make really cool shadows on the wall when the sun shines in, which is totally a bonus. :)


So, long story short, this is a DIY project that is well worth it for me! You can see more about how I made this here.  I also made an earring holder a couple of years back, which has equally saved my life! Give it up for jewelry organization everyone! And Pinterest. :)

Tuesday, August 5, 2014

Bedroom Shelves Complete!

It seems like forever ago when Trent started his Bedroom Shelf project. I mean, it was in April when it all began! For all my former posts about these shelves, visit hereherehere, and here.

Well, he's finally finished, and I'm excited to reveal it today! Drumroll please......

Here's the finished product:


Isn't it beauty-ful? I'm so proud of Trent and what he accomplished! It's actually lighter than we had planned - we were going to go for more of a dark chocolate brown...but the stain color showed a lot lighter than what we thought, and we decided to just roll with it. It almost has an antiqued look, and I thought it turned out pretty cool, and unique. Here it is before we moved all of the storage bins inside:


He started with a bunch of pieces of wood, and to think that he got all the way to this awesome, custom made shelving unit is pretty awesome.


You can't beat a custom-built and designed storage unit - it has a lot more lasting power than a cheap Target shelf system made of particle board! And this thing is HEAVY. I know - I helped move it multiple times!


It took a lot of sanding - there were screws that Trent had to cover with wood putty, and trim pieces attached to all front edges of the shelf, which give it that chunky, thick look. So after sanding and sanding, he was finally able to apply a couple of coats of stain, then cover it with Poly to seal it in and give it a slick, shiny surface.


I think we're both really happy with how it turned out, and seems to be working well so far. Trent desperately needed a place to store his clothes, so now with these cloth bins, he has spots for each kind of clothing item. And the larger "cubby hole" in the bottom right corner is going to hold a hamper. For now, we just have two bins stacked together. 


I like that it has a large surface on top for Trent to set small things on, and his deodorant and cologne. I'm just hoping it doesn't get too cluttered. :)


Anyway, I'm super excited it's done! Especially since it looked like this just a couple month ago:


Substantially better and more functional now, don't you think?


Trent's current project is now putting in a new basement door. I'll definitely have to do a post soon...Not the most exciting thing ever, but it's another step closer to getting the basement to the point where we can raise the living room and kitchen to be level. No idea it would take this long, but it really does take time. It's definitely not an overnight thing. To find the time to finish projects is a task in itself!

On to the next project.....as always. :)

Featured on...

Related Posts Plugin for WordPress, Blogger...