Navigation bar

  • About Me
  • Renovation
  • Decor
  • Crafty
  • Life
Showing posts with label Recipes. Show all posts

Thursday, September 14, 2017

Homemade Margherita Pizza

Anybody love pizza like I do?! Tonight I have to share a little bit about this yummy homemade Margherita pizza that Trent made a week or so ago. It turned out to be really delicious, and he even used a few veggies from our garden. Here it is pre-baking:


And here it is all done and crispy:


That melty cheese, though.

I made him give me the lowdown on everything he used. Because we all know he's the chef of our household, not me. The crust was a pre-made thin crust, but he made his own sauce. It was just the right amount of sweet and spicy, with fresh ingredients right from the garden.

Here's what he used for the pizza:

-Pre-made crust
-Tomatoes (from the garden)
-Red bell peppers (from the garden)
-Butternut squash (from the garden)
-Garlic (from the garden)
-Salt and pepper
-A bit of crushed red pepper
-Basil leaves
-Fresh Mozzarella

He used the blender to blend the tomatoes and mix in some of the ingredients to make the sauce, and I'm pretty sure he just did it to taste. He doesn't like to follow recipes! He did say he baked it at 425 degrees.

I have to say, I'm ok having to maintain a garden when it comes with perks like yummy pizzas. :)

Monday, January 2, 2017

Recipe Roundup

Welcome to my Recipe Roundup post! Although I do not really enjoy cooking (Ha!), I do enjoy an easy recipe every now and then. And I also like to share those recipes I do try, with you on my blog. So I've rounded up links to all of the recipes I've shared so far, as a resource for you all. It's an easy way to find them all in one place. Just click on the link or photo below to view the recipe.

I'll be adding this post to my sidebar, and will add to it with each recipe I share. Enjoy!

Strawberry Fluff
http://www.thislittlehouseblog.com/2016/05/strawberry-fluff-recipe.html

Bubble Pizza

Cheesy Corn Casserole

Classic Deviled Eggs

Peanut Butter Kiss Cookies
http://www.thislittlehouseblog.com/2013/12/peanut-butter-kiss-cookies.html

Pretzel Kisses
http://www.thislittlehouseblog.com/2014/06/pretzel-kisses-recipe.html

Puppy Chow
http://www.thislittlehouseblog.com/2013/12/puppy-chow-recipe.html

Saturday, October 15, 2016

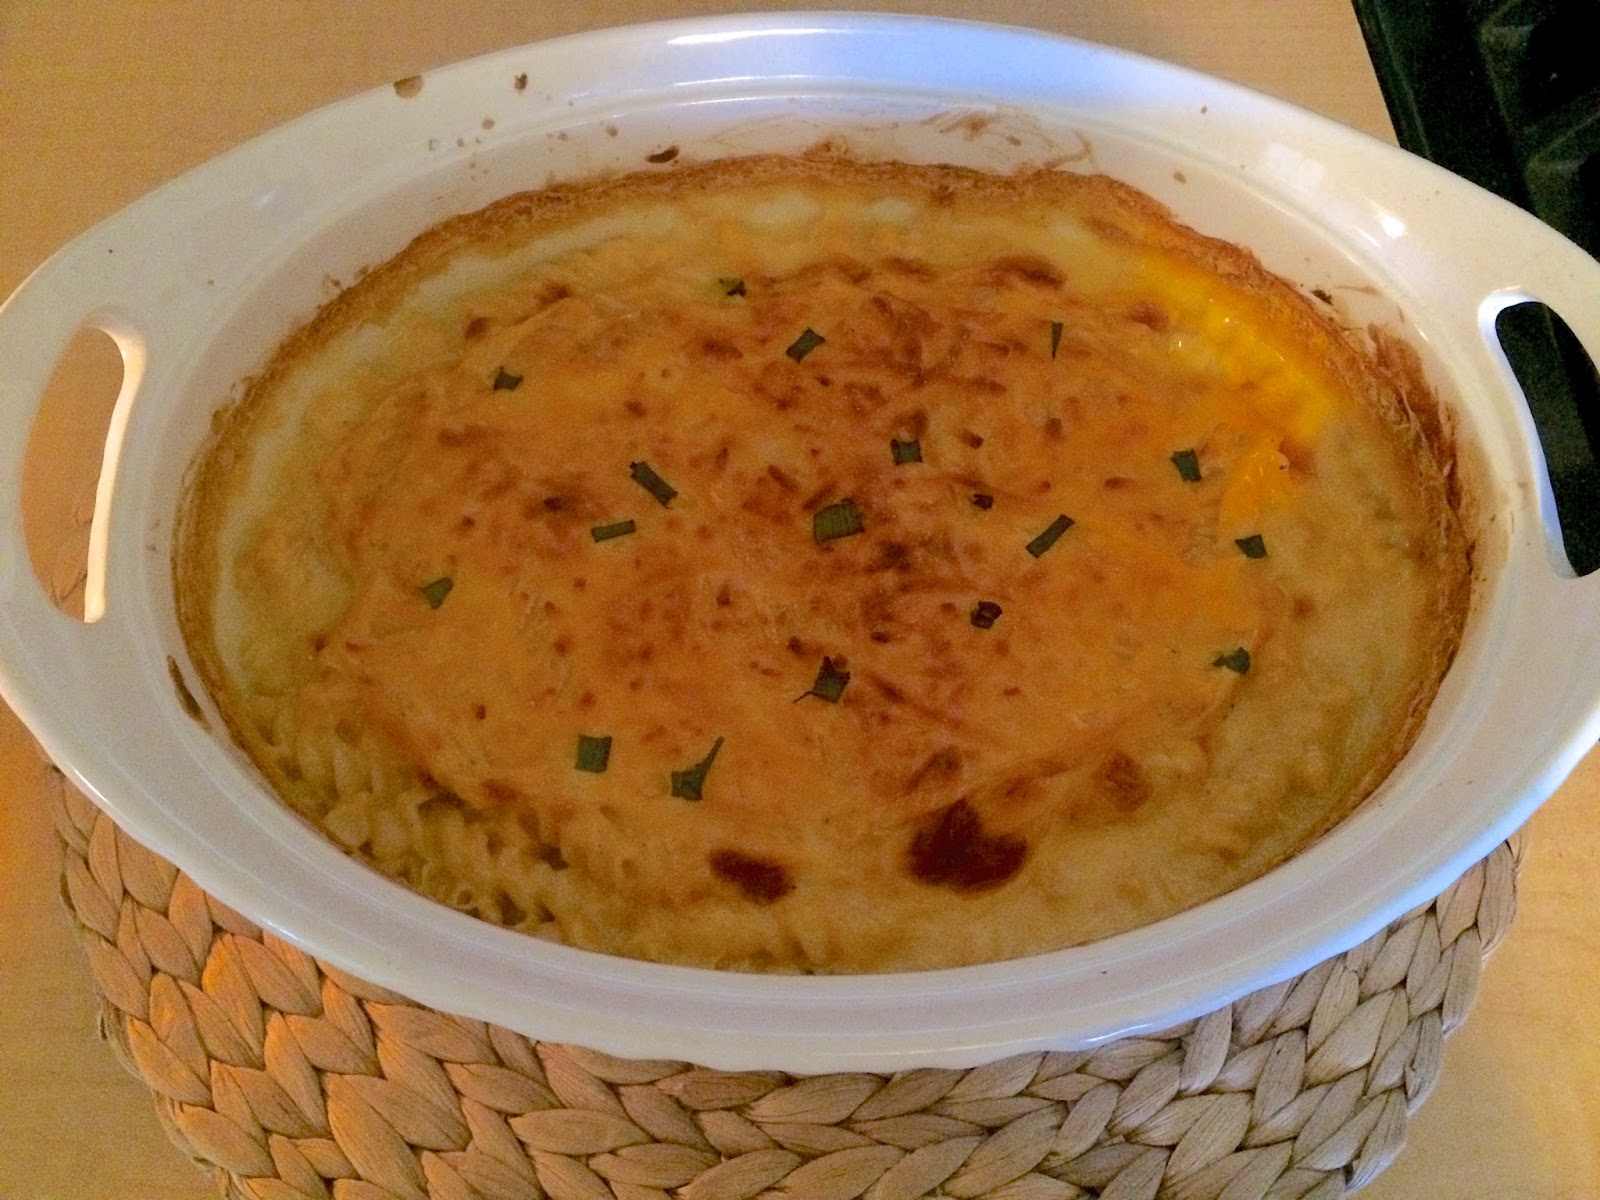
Cheesy Corn Casserole Recipe

So, this is perhaps THE most favorite dish in our house right now. And I'm about to share this super easy recipe with you today. For Cheesy Corn Casserole!


I love mac n' cheese and corn, so when you mix the two together, it's pretty much awesome in my book. I make Trent cook this all the time. :)


I've seen a ton of variations online, but Trent likes to experiment with his own, so this is his version. The below recipe makes enough for a small family meal (both of us had enough for 2 helpings plus a little extra). For a bigger group, I would double this.

Ingredients:
1 can cream corn
1 can whole kernel corn
1 cup pasta (rotini or elbow macaroni)
1/2 lb Velveeta cheese
Handful shredded cheddar cheese
Optional: garlic and onion for garnish


Directions:

  1. Add cans of cream and whole kernel corn together in a casserole dish, and mix in a cup of pasta. 
  2. Add small blocks of Velveeta cheese, spreading evenly around dish.
  3. Blend all ingredients together.
  4. Bake at 350 degrees for 1/2 hour, covered.
  5. Take out and spread a layer of shredded cheddar cheese and garnish on top.
  6. Bake for another 1/2 hour, uncovered, at same temp.


A couple of notes:

  • A lot of variations I've seen use butter in this, too, but we like it just fine without it. 
  • We've used elbow macaroni in the past, but last time we used rotini (the spiral noodles), and found it to be just as good!


Hope you enjoy!

Tuesday, May 17, 2016

Strawberry Fluff Recipe

This year for Mother's Day, my family got together at my cousin's house. We usually each bring a dish to share. I wanted to bring something easy - no cooking or baking required. That's kind of my style. ;)

I've made other easy dishes in the past - Deviled eggs, Snickers salad, a Veggie tray...this time I decided to try something new. I made Strawberry fluff! It's an old favorite of mine, but this was my first time making it. I've always loved Strawberry fluff, even as a kid. My grandma used to make it, and it looked so easy, I knew I could whip it up that morning with no problem.


And it was easy, and turned out really good! I love those recipes that you don't have to be an experienced cook or baker to do. Just toss some ingredients together! So here are the ingredients I used, and the steps to make it. So easy, even a kid could do it! Or help, at least. :)


Ingredients: 
(these produced a good size bowl for my family to all share - and I had some leftover.)

  • 1 container of Cool Whip topping
  • 1 box of strawberry JELL-O mix
  • 1 20 oz can crushed pineapple
  • 1/2 bag of mini marshmallows
  • 1 cup chopped strawberries


I looked at recipes online, and this one is what I based my recipe off of. It looked like the simplest and most like the kind of salad I wanted to make; however, I added marshmallows to mine to make it extra 'fluffy.' 1/2 a bag seemed to do the trick.

Directions:

1. Empty the cool whip into a bowl, and add the strawberry JELL-O Mix. Combine together.
2. Drain the crushed pineapple, and combine with a cup of chopped strawberries in a separate bowl. 
3. Mix the fruit in with the whipped topping/ JELL-O Mixture.
4. Add in mini marshmallows to the mix.
5. Pour the Strawberry Fluff into a serving bowl, and enjoy!

Linked to: The Pin Junkie, Tatertots & Jello

Monday, March 21, 2016

Bubble Pizza Recipe

One way that Trent is completely opposite of me: He likes to cook, and he experiments with his own recipes. I don't really get it, but I am intrigued. Because most of the time, he comes up with these recipes, and they actually end up tasting good. I had to share this one, because it sounded good from the beginning, and it looked good as he was making it, too. It's called Bubble Pizza. You might have heard of it before - There are different recipes for it online.

Trent always likes to put his own spin on other recipes and create his own. Here's his recipe. It actually turned out really yummy! (It's vegetarian, too - but you could probably add meat to this also if you'd like.)


Ingredients:
  • Vegetable oil
  • 1 Biscuit roll
  • Pizza seasoning
  • 1/2 an Avocado
  • Black olives
  • Fresh spinach leaves
  • 1 Can of pizza sauce
  • Fresh mozzarella
  • Shredded Italian cheese
  • 1 Roma tomato


1. Spread vegetable oil onto a casserole dish. Add some pizza seasoning, then break apart a biscuit roll for the "bubbly" crust.

2. Add some avocado (we used 1/2 of one), some black olives, and a little more pizza seasoning.


3. Add some spinach leaves, a can of pizza sauce, some shredded cheese (we used Italian), and some fresh mozzarella. Then add some chopped tomato on top.


4. Preheat the oven to 375 degrees, and cook for about 25 minutes.


Wait, and check on your pizza occasionally...


And voila! Time to enjoy your bubble pizza! This was the first time we've made this kind of pizza. Trent's mom used to make a version of this when he was growing up, and he decided to make one of his own. It turned out super delicious.


I really recommend trying your own version and experiment to your liking. Enjoy!

Saturday, November 28, 2015

Classic Deviled Eggs Recipe

Hi all! So you may know I don't really cook or bake a lot, but every once in a while I get to make something easy and share it on here. This year for Thanksgiving I made Deviled Eggs for my side of the family. I think they went over really well.

This was my second time ever making deviled eggs, and I thought they turned out even better than last time. I followed the classic recipe I used the first time, but just changed it up a little (more on this later). These appetizers are a staple at family get togethers, and today I'm sharing the recipe with you all.


First things first, get all of your ingredients and supplies together. Here's what I used. This recipe uses a dozen eggs, so will make 24 total deviled eggs:

Ingredients:
  • 12 large eggs
  • Mayonnaise
  • Dry Ground Mustard
  • Regular Yellow Mustard 
  • White Vinegar
  • Salt
  • Ground Black Pepper
  • Paprika for garnish
  • Optional - Dill for garnish
For supplies, you'll need measuring cups and spoons, a sharp knife and cutting board, a medium sized mixing bowl, a large cooking pot, a ziplock bag or cake decorating bag to fill your eggs, a fork and large spoon, a plate, and a serving tray. 


This year I decided to try the disposable cake decorator bag and tip method to fill the egg halves with the filling. You can get them for pretty cheap in the cake decorating section of the grocery store. If you don't want to use this though, you can also take a large ziplock baggie and cut a hole in the corner. I found the cake decorator bag worked really well for me this time. Just make sure you get the top of the bag sealed off though once the filling is inside, because it did get a little messy.


Directions:
  1. After you have all of the ingredients you need, prep your eggs for boiling. One tip is to rest your eggs on their sides overnight, or at least 8 hours. This helps to center your yolks.
  2. About 1/2 hour before cooking your eggs, take them out of the fridge to get them to room temperature.
  3. Boil your eggs - Place them into a large pot just one row deep, and fill the pot with cold water, covering the eggs by 1 inch. Add 1 tsp salt per 6 eggs, and set the burner on high. Once the pot starts to boil, take it off the burner.
  4. Add 1 tsp of vinegar, cover your pot and let the eggs sit for 30 minutes in the water.
  5. Place your eggs into a bowl of ice water and let them cool for 20 minutes.
  6. Once cool, start cracking your eggs gently all over, one by one. Put each back into the cold water when cracked and let sit for a few more minutes.
  7. Roll each cracked egg between your palms and peel off the shells. Run them under cold water and place them on a plate. Tip: The fresher your eggs are, the harder it will be to peel off the shells cleanly. So go for less fresh eggs if you can!
  8. Let the peeled eggs cool in the fridge for about 30 minutes.


  9. Cut your eggs lengthwise and squeeze the yolks into a bowl. You should have 24 egg halves ready to squeeze your mixture into.


  10. Now it's time to make the filling. Mash up all of the yolks with a fork so there are no large clumps. Add the following to the yolks: 1/2 cup mayonnaise, 1 tsp dry ground mustard, 1 tsp white vinegar, 1/4 tsp salt, 1/2 tsp ground black pepper, and a little regular yellow mustard. I didn't add yellow mustard the first time I made them (only the powder), but decided to add some this time to add more flavor. And I am glad I did! It was so much better. I didn't measure an amount, just squeezed some into the mixture. 


    Below is what it looked like with all of the ingredients added.


  11. Then just blend it all together. I used a mixer, but you could blend it by hand instead.

12.      Fill your bag with the mixture, then fill your egg halves. Sprinkle paprika on top for garnish. I also sprinkled some dill this time just to add a little something extra.


And voila! You have perfect deviled eggs for your next party or family gathering.


I'm telling you now, if you use this classic recipe, it's pretty hard to screw them up. Happy eating!


Linked to: Link Party Palooza, Freedom Fridays, The DIY Dreamer, Cupcakes & Crinoline, The Pin Junkie, The Chronicles of Home

Friday, June 27, 2014

Pretzel Kisses Recipe

Hello and Happy Friday! Mixing it up a little today. Last weekend was my sister Haley's bridal shower, and I made a plate of Pretzel kisses for all the guests to share. These are super easy to make, and they went over really well! I thought they would be perfect, since they're colorful and bite-size, and therefore great for grabbing a bite at parties. Plus, I think they are one of the quickest desserts you can make!

Here's the recipe for anyone who's never made these before!


 Ingredients:

  • Hershey's kisses (you can also use Hugs)
  • Small pretzels (round or square)
  • M&Ms (in whatever seasonal color you'd like!)

Directions:
Again I can't stress enough how easy these are to make. Just cover some cookie sheets with aluminum foil, and line up your pretzels. Then unwrap your Hershey's kisses and set one in the middle of each pretzel. The unwrapping part might take the longest of the whole shabang.


Preheat your oven to 350 degrees F. And bake - for just a few minutes! I don't think it took longer than 4 minutes, tops. Just stand by the stove and keep checking. The kisses should mostly retain their shape, just be soft enough that you can squish them down.


Then just plop down an M&M on each pretzel kiss! I used multi-colored springy looking ones for the shower (and they were white chocolate which I thought was extra yummy). But I've seen red and green ones for Christmas, pink and red for Valentine's Day, etc. Also - I put all the M's face-down, but that's just my preference. :)


I let them cool and harden in the fridge overnight, but you'd probably be good after a couple of hours. I just didn't want them to be too melty. But then again, you can't really go wrong with pretzels and chocolate together! Sweet and salty - it's a perfect mix. Have a great weekend everyone! 
P.S. - For more recipes - Check out my Puppy Chow recipe, or my Peanut Butter Kiss Cookies recipe. Can you tell I have a sweet tooth? :)

Linked to: The Pin Junkie, Liz Marie Blog, Tatertots & Jello, Natasha in Oz, The Best Blog Recipes, Artsy Fartsy Mama, The Answer is Chocolate, The Cards We Drew, Pin Me Party, The 36th Avenue, Someday Crafts, Eat. Create. Party!

Tuesday, December 17, 2013

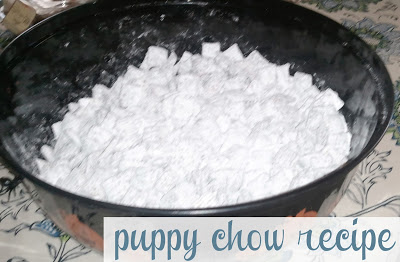
Puppy Chow Recipe

Last Halloween, I made puppy chow for the first time. If you don't know what puppy chow is, you are not American it's a yummy finger-food dessert also known as "muddy buddies." I've just always known it as puppy chow. It is basically delectable goodness! And it's really easy to make. Which is good for me, since I bake/cook/prepare food pretty rarely.


Today I thought I would share the recipe, though it's been a while since I've made it. I can't remember where I found the recipe, but it turned out really yummy. Plus, I'm just in the recipe-sharing mood lately, and this is a perfect snack for holiday get-togethers and parties! Enjoy!

Ingredients:

  • 1/2 cup peanut butter
  • 1/4 cup butter
  • 1 cup chocolate chips
  • 1/2 tsp. vanilla
  • 9 cups Chex cereal
  • 3 cups powdered sugar
  • Ziplock freezer bag

Directions:

  1. Combine peanut butter, butter, and chocolate chips in a microwave safe bowl.
  2. Microwave for 1 minute, then stir to blend all ingredients thoroughly. Add 1/2 tsp vanilla. Stir well.
  3. Place 9 cups of Chex cereal in a very large bowl.
  4. Pour the peanut-butter chocolate mixture over the cereal and toss evenly, making sure all the cereal gets a good covering.
  5. Place the powdered sugar in a large Ziplock bag.
  6. Add the peanut butter-chocolate cereal mixture to the bag, leaving enough room for it to be shaken. (You may have to divide the mixture into smaller batched, coating 1 batch at a time.)
  7. Shake the bag vigorously to evenly coat each piece of puppy show with powdered sugar.
  8. Once the mixture is fully coated, dump into a large serving bowl.
Prep time: About 10-15 minutes
Servings: 1 large bowl (party size)


Linked to: Tatertots & Jello, The Pin Junkie, Domestic Superhero, Liz Marie Blog

Sunday, December 15, 2013

Peanut Butter Kiss Cookies

Last night I did a little baking. It's a rare occasion, but I've been wanting to make cookies for a while, and I decided to make peanut butter kiss cookies - one of my favorite Christmas cookies!


The recipe I used was this one from Chef-in-training.com. I also posted the recipe below - Perfect for the holidays! They turned out delicious!


Trent helped me mix a little bit and put them in the oven. Always nice to have a little help, especially for me, considering I haven't made a lot of cookies from scratch in my day. ;)


Here's the recipe:

Ingredients:

  • 1 cup butter (softened)
  • 1 cup sugar
  • 1 cup brown sugar
  • 2/3 cup peanut butter
  • 2 tsp vanilla
  • 2 eggs
  • 1 tsp baking soda
  • 1/2 tsp salt
  • 3 1/2 cups flour
  • 1 bag Hershey's chocolate kisses

Directions:
  1. Place butter in microwave about 15 seconds to soften to room temperature. Cream butter and sugars together in a large bowl.
  2. Add peanut butter and mix well.
  3. Add eggs and vanilla and beat until well combined.
  4. Add baking soda, salt, and flour, and mix until well-incorporated.
  5. Roll into 1 inch balls, then roll each ball into sugar.
  6. Place on greased cookie sheet and bake at 350 degrees F for 8 minutes. 
  7. Immediately when done baking, gently press a chocolate kiss into the center of each cookie.
  8. Place on a cooling rack and let cool completely.
I unwrapped kisses while I was waiting for the cookies to bake. Saves a little bit of time when you're having to put the kisses on the cookies while they're still warm.


The mixture made around 32 or so cookies. But I did save a little bit of the dough to eat out of the bowl..I have to say, the leftover dough was quite delicious! :)

Linked to: Tatertots & Jello, The Pin Junkie, Domestic Superhero, Liz Marie Blog

Featured on...

Related Posts Plugin for WordPress, Blogger...