Navigation bar

  • About Me
  • Renovation
  • Decor
  • Crafty
  • Life
Showing posts with label bathroom. Show all posts

Saturday, August 8, 2015

Bathroom Floor Fix-Up

Exactly 1 WEEK from today we will be tying the knot!! Ahh! Let's just say we are finishing up lots of wedding stuff this weekend and are obsessively checking the weather for next Saturday every 10 minutes.

In the meantime, while we work on more wedding DIY projects, I'm sharing a little home improvement project that we completed a few weeks back. It's been a while since I've actually posted a reno project, but we've also been so consumed with wedding stuff the past year, that it's hard to find the time these days for home improvement!

This was a weekend project that we kind of did on a whim. A week or so before our bachelor and bachelorette parties, we started getting the house clean, and ready for a couple of people to stay over. The bathroom was in serious need of some love, and the floor was ugly. There was this parquet-esque stick-on tile, but the floor boards underneath were rotting, leaving cracks in the floor.

We knew we wanted to fix this, and Trent knew he could do it for cheap and get it done in one weekend. We started by cutting out the parts of the floor that were in need of repair and had rotted through (probably due to sink or toilet leaks in the past).


There were a couple older layers of linoleum tile under that, and then the rotting floor boards. Trent cut the rotten parts of the boards out, then patched the floor in those sections.


A thin layer of plywood over top, and we finally had a level surface with no cracks or rotten boards.


We picked up a box of stick-on tile, but this time in a more realistic looking wood-like finish. We really liked the color and realistic look of this one, and we figured since we didn't have the time to gut the room quite yet, we would lay this down as a temporary fix. Stick on tile is super cheap, and it costs by the piece. We have a really small bathroom, so one box (45 pieces) was plenty. They were just 98 cents each. We had several pieces leftover, but are keeping them for the future if we want to cover a closet floor or something like that.


Trent did an awesome job with the faux wood tile, and it just took him a day to do. He just cleaned the floor, then stuck the new tile right on top.


Here's what the floor looked like after it was all finished! Don't mind the little smudges that are still on the floor - this was literally right after he finished the tile, so we hadn't cleaned it all up yet.


So much more modern and refreshing. Trent also installed some baseboard trim around the bottom of the walls, and got some door trim up. We hung a new shower rod and did a few other minor updates before the bachelor/bachelorette party weekend.


I didn't get a picture of the whole room, so I guess my feet on the floor will have to do! Either way, one more little home reno project down. And we all know one more completed project means one step closer to having a home that is completely comfortable and updated!

Now, off to work on some DIY "Just Married" signs. One week away, and one week closer to laying on the beach in Jamaica!

Saturday, July 27, 2013

Turkish Towel Love

Why Hello, my new Turkish friend.....

Yes, I am talking to you, Mr. warm and luxurious Turkish Towel that arrived at my doorstep yesterday! I may have a slight Turkish towel obsession right now. They are just too pretty.


I had been eyeing them for a while, so a week or so ago, when I got an email with $10 off at Serena & Lily, I decided to splurge on one of their bath towels. I can't wait to use it!


It's the Fouta bath towel in Dove Gray. I know it's a little much for a towel, but hopefully it will last a really long time (Probably a lot longer than any cheap towel you would get at Target.)

There was even a cute little card that came in the box, which held the packing slip. Being a graphic design major and all, I appreciate high quality packaging design, and I have to say it was a really lovely way to contain a packing slip!

Here are a few other pretty Turkish towels in case you haven't fallen in love already....


From here, here, and here

I love the ones with the fringe, but it looked like Serena and Lily just had those as beach towels. Not that I know what the difference is (maybe the beach one is larger?)...Either way, it's pretty. I'm done. Happy weekend everyone!

Monday, March 4, 2013

My Least Favorite Room

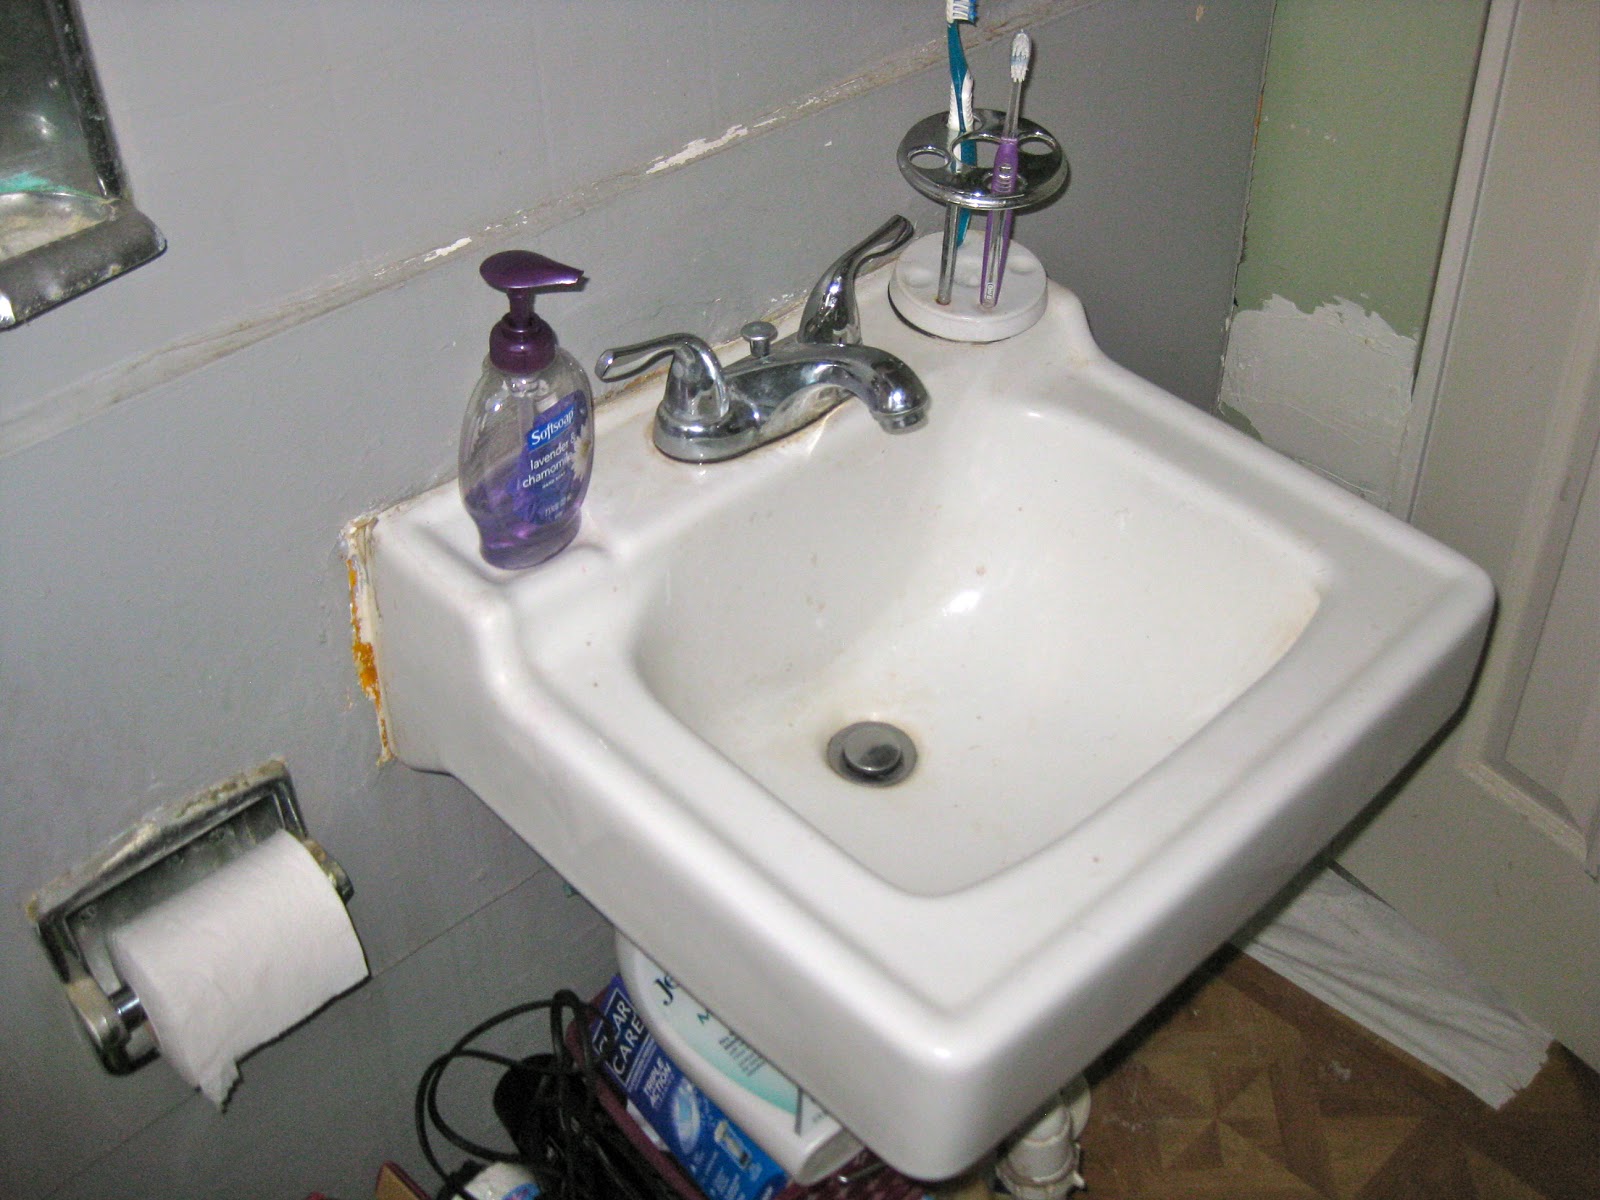
There is one room in our house I am not too fond of. It's small, it's cluttered, it's in bad shape....it's our bathroom. And it's the only bathroom in the house. Before I go into all of the things I hate about it in detail, let me show you what this room looked like when I first moved in. Warning - It's not pretty:


Yep. Yellow walls and shower with a wallpaper border, black padded toilet seat (with a mirror right across from it), and an overwhelming feeling of being closed in. It was clear to us even then that this room was going to have to be gutted and completely redone. But since we were in the process of redoing the living room and bedroom..then went on to paint the entire kitchen...then ripped out and began redoing the hallway...the bathroom renovation project was going to have to wait.

We have since done a little work in the room, making it tolerable. But it's only step one. Here's how it currently looks:


What have we done?
1) Painted the walls gray and the trim white. Unfortunately, the shower surround is plastic and yellow, so that has stayed as is, until we can gut the whole room and remove it. But it's no longer an ugly yellow box, and the wallpaper border is no more!
2) Added a door from the hallway. See more on this project here. Before, the only door was from the bedroom, which didn't work well when we had guests and they had to go through our bedroom to get to the bathroom. (Weird) But we added a door from the hallway, so right now there are 2 doors, as you can tell from the pictures. Once we rip the room out and rebuild, the door from the bedroom will be gone, and there will only be one again. There is also a wall of new drywall now, where we put in the door. It is the green that you see in the pictures and will be painted with the rest of the walls when we remodel.
3) Replaced the black padded toilet seat with a white normal one. The color doesn't match perfectly with the rest of the toilet, but once we remodel, we'll be getting a brand new toilet anyway. So it's just a cheapo one we picked up for now.
4.) Removed the oddly placed mirror and the large, bulky cabinets. The mirror across from the toilet was just weird, and the room was way too small to have multiple bulky cabinets sticking out everywhere. Of course the bathroom now has literally no storage at all, so we have to keep our toiletries to a minimum and keep the towels in the bedroom for now. (We are lacking closet storage in this house, too.) I do keep my plastic storage unit I used in college in there for now to store all my hair products, lotions, etc. Once we renovate in here, we will hopefully have a full wall of built-in storage.

We have of course replaced some of the accessories, too, like the shower curtain, trash can and the rug.

And here are the things on our to do list for this room, which we hope to renovate in a year or two (once the hallway and the foundation are finally done):
  • Gut walls and ceiling and rebuild
  • Repaint
  • Tile around the shower
  • Install new bathtub and shower
  • New vanity and sink
  • New toilet
  • Rebuild floor and lay new flooring - The current floor is falling apart!
  • Install and paint new trim
  • Install Built-in storage
  • Install overhead fan/light - There is no fan in the bathroom right now, and the moisture problem from showers is terrible.
  • Install new vanity lighting
So hopefully now you can see why our bathroom is my least favorite room in the house. I'm dreaming of one day having a beautiful new bathroom, and maybe in the next couple of years...my dream will come true! 

Wednesday, February 6, 2013

Hallway Renovation: Part 3 - Bathroom Door Installation

So, I already showed you Part 2 of the Hallway Renovation - Building the closet and Installing lights. Now, onto Part 3: Moving the Bathroom door to a more prime location: the end of the Hallway. (The only door had been through our bedroom.)

For several weeks, this door had been standing up against the wall at the end of the hallway, just waiting to be installed.... 

Earlier in 2012, we had been working on other aspects of the hallway, like the closet, the lights, the leaky roof, and putting up drywall...
Yes, we wrote our initials on this board before we covered it with the drywall you see on the right. :)

At this point, some one was less than a little motivated to work on the hallway again:
I mean, he looks so thrilled, right??

But we kept on keepin' on, and in October, we finally began on the bathroom door...

Deciding where to place it was the first step. Here's Trent measuring:

And about to saw into the wall:
If you ask me, I think he had a little TOO much fun with this step.

But soon, we had a large, door-shaped hole in our bathroom. Usually, this would be a bad thing. But for us, it was very good, because it made us one step closer to having a legit door from the hallway to the one bathroom in our house.

You can see that the register was in the way of the door, so this had to be moved to the left, against the other wall. I don't have any pictures of this, but it also left us with a big hole, which we simply covered with duct tape for now. Temporary solution :)

Pretty soon, we had that door installed and were breaking through the bathroom wall, literally:

Then we had drywall on one side.....and the other:
It was so crazy to see a door at the end of the hallway, where there had never been one before. But once we saw it there, it felt like it was meant to be there all along. 

By the way - the door from the bedroom is still there. We haven't taken it out yet. So we currently have two doors to the bathroom - one from the hallway, and one from the bedroom. Once we redo the whole bathroom, the one from the bedroom will be gone, and we'll just have one door from the hall! We do like the convenience of having two doors, and even having the bedroom one is nice. But it just isn't practical, since the bathroom is so tiny, and we need to utilize all the space we can in there. 


Here's a view down the hallway after the door was installed and the drywall up:
I wish I had a "Before" picture from this same spot. It has come a long way. And this picture was taken in October of last year, so even since then, we've gotten at least one coat of mud on the walls, and even primer! Can't wait to show some updated pics.

Until then, I'll leave you with this - 
Sanding, Sanding, and More Sanding!! I just can't understand why Trent would be tired of this project, can you?

Featured on...

Related Posts Plugin for WordPress, Blogger...