


I have another Pinterest Project to share today. My third one this month...and pretty soon (ahem..Wednesday the 27th) I'm going to post my FOURTH this month because I finally get to take part in the Pinterest Challenge! So excited, and already have my idea planned out!
But onto the topic at hand - for the project I'm sharing today, I wanted to make a big memo board for my office and was inspired by some on Pinterest. I made this probably a little over a year or so ago (can't remember) and don't have pictures of the process. But I do have some of the final result. First, though, here are a few I liked that I saw on Pinterest:


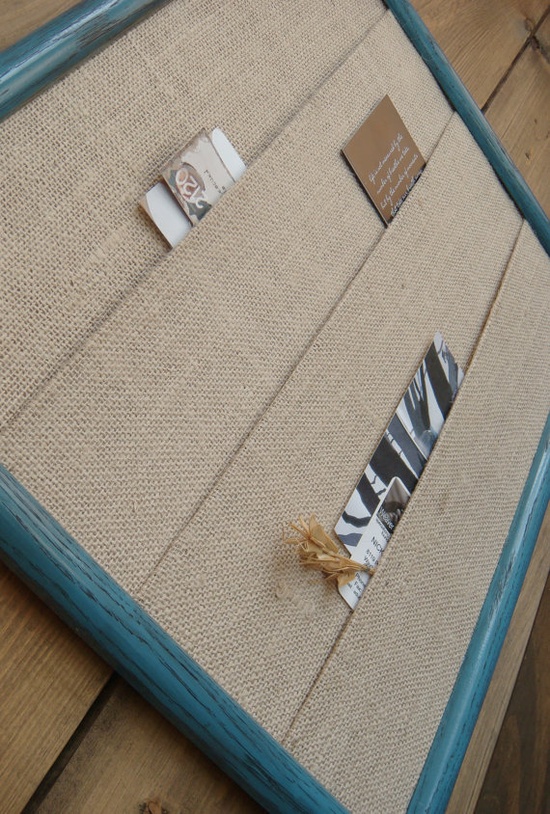
The board I made is actually really similar to the first one above. Many of the boards I saw used burlap, but I chose to use actual fabric that had a similar texture and look as burlap. Here's how mine turned out:

This is a picture of it hanging in my office. I really like it! Sorry it's kind of crazy looking..I didn't style it all. I took this picture earlier this week, and this was literally how it looked when I walked in my office. Notice how I still have last year's calendar up. I really need to get a new one! Anyway though, I keep my calendar and some inspirational photos and magazine clippings up there to just to look at and make me happy. (By the way, my office is right when you walk upstairs in our house - I will have a post on here soon showing more if it!)
To make the memo board, I just used a large bulletin board made by Board Dudes, that I think I found at K-mart. I don't have a photo of it, but it looked really similar to this:

Then I just wrapped some fabric tightly over it and used a staple gun to staple it to the back of the board. The fabric is similar in look to burlap, but tighter-knit and softer - Here's a close-up of the board so you can see the fabric a little better:

Once the fabric was stapled in place, I stuck these decorative nails in, spaced evenly apart around the edges for some fancy nail head trim:
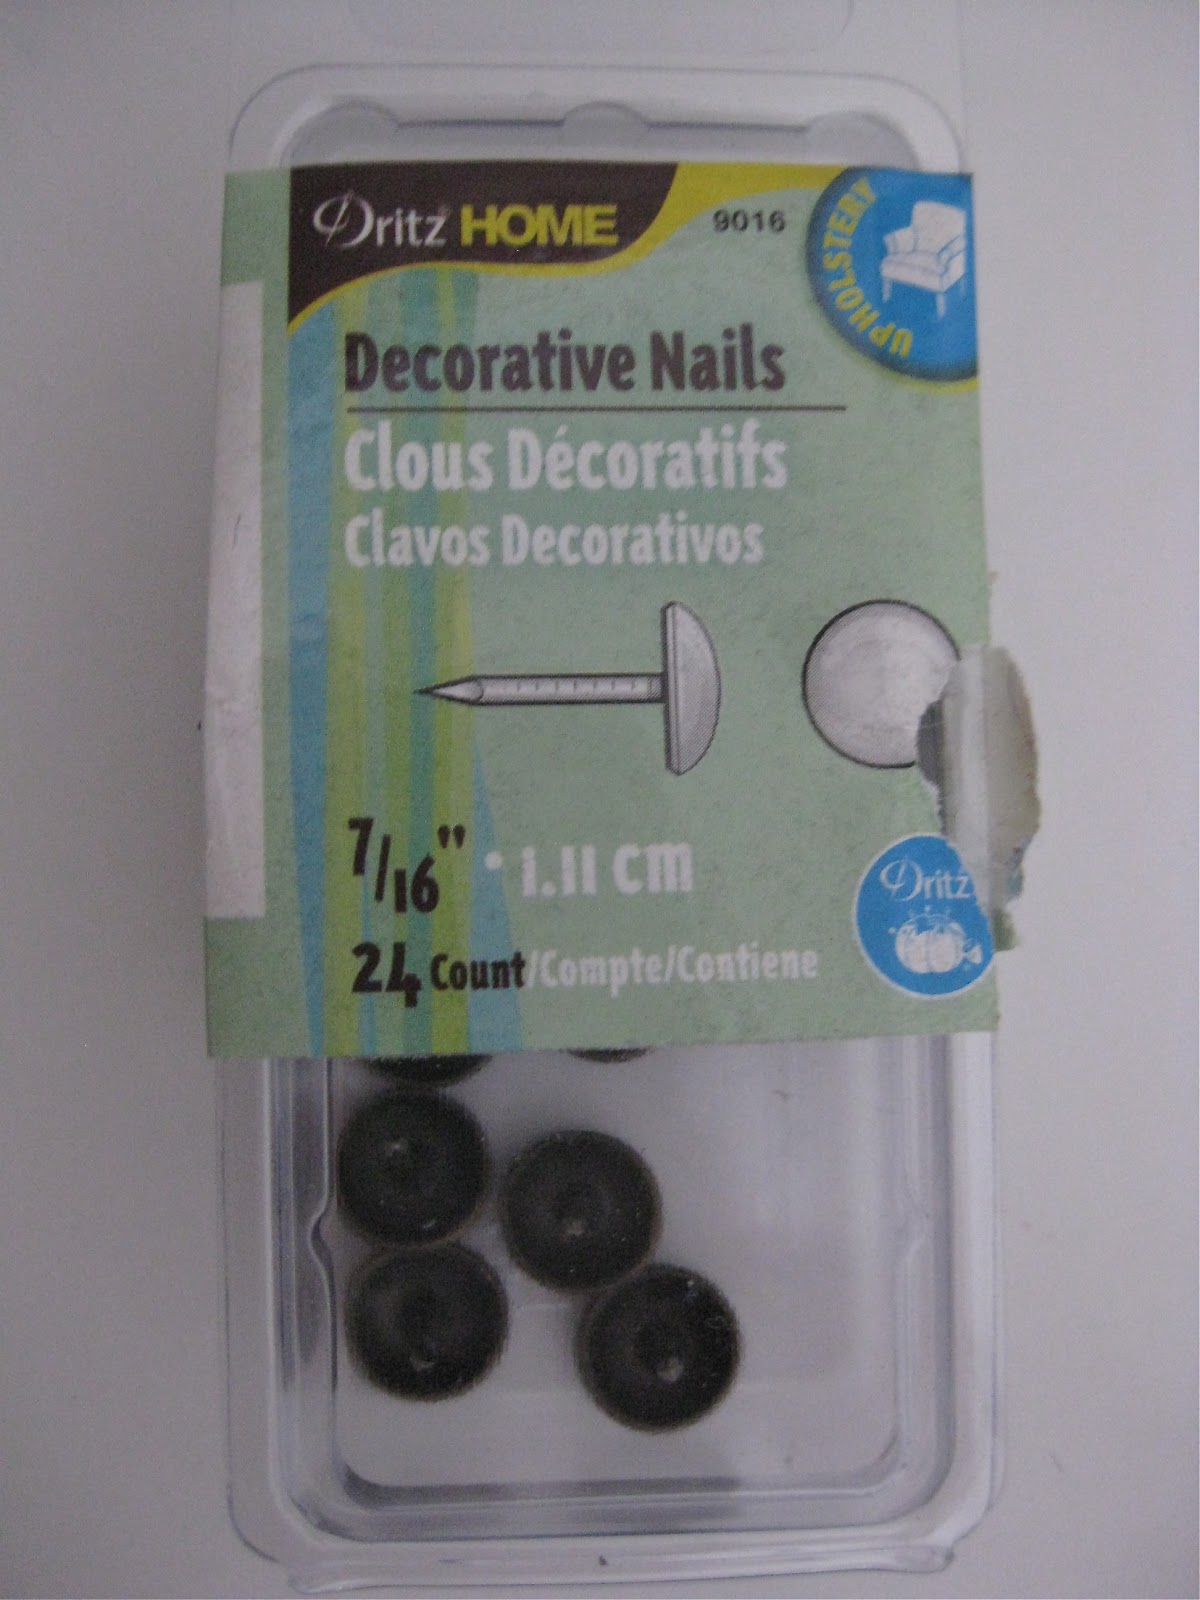
It's been a while since I made this, so I can't remember how far apart I spaced the nails or how many packages of these I needed, but I think I had purchased two of these little packages, and ended up going back to the store to pick up another one because I needed more. As you can see though, I have a few left over still to use for other projects.

Pushing the nails in was probably the trickiest part. I used a ruler to guide me which helped when spacing the nail heads around the board - but there were a few times I had to take nails out and reposition them or space them further apart, etc. And my thumb was definitely sore after pushing all those nail heads in! I'm really happy with how it turned out though.

Here's another close-up of some of the clippings I have pinned to my board:

And of course a copy of one of my favorite Shel Silverstein poems:

It makes me happy and kind of reminds me of Trent and I, and our House. :)


very cute I love the black nail head trim!
ReplyDeleteThanks! And thank you for the comment! :)
Delete